
前回はAlert Controllerを途中までやりました。
今回はActionSheet型のAlertを実装していきます。
ActionSheet型Alert
もはや同じ部分ばっかりになってきたんでとりあえずコードから。
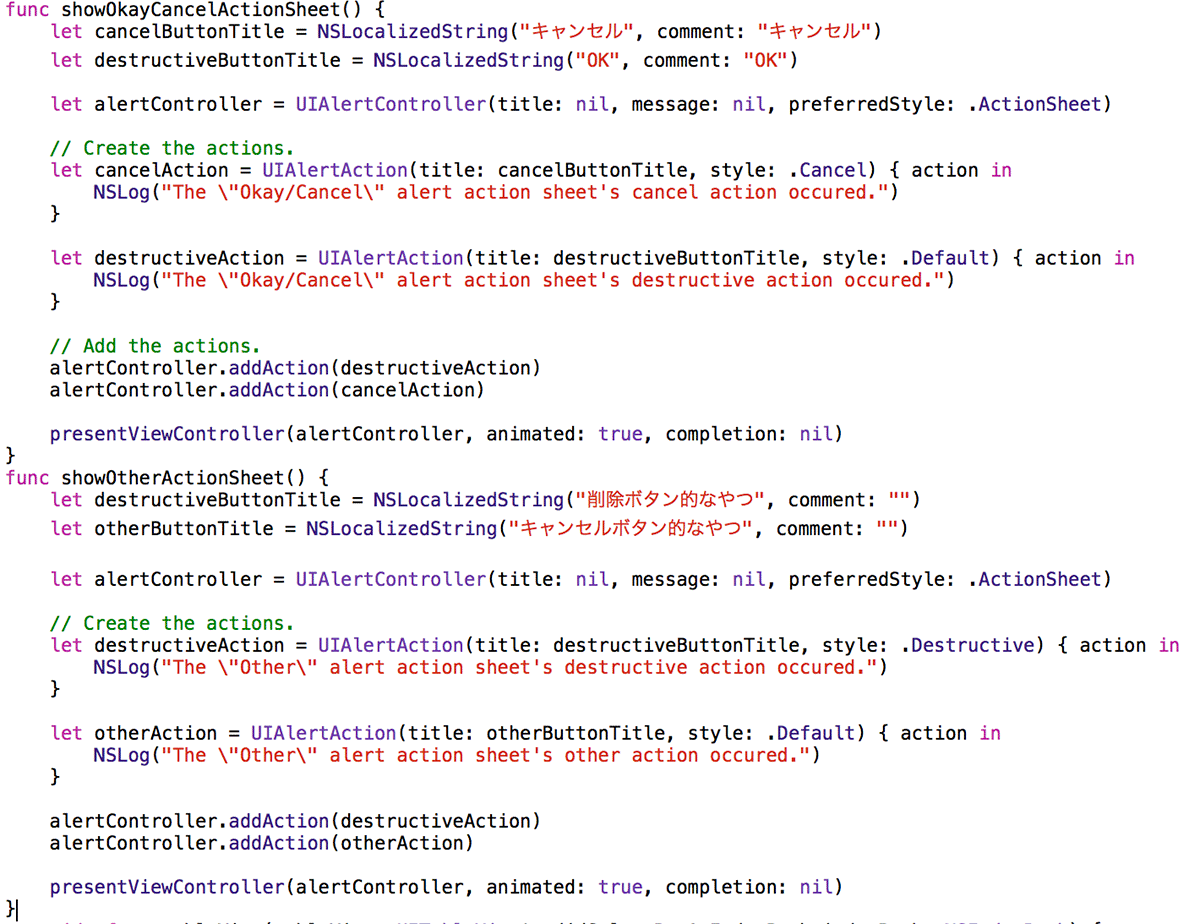
2種類ありますが似たようなものです。
UIAlertControllerのpreferredSytleを.ActionSheetにすることでActionSheet型のAlertになります。
[c]
let alertController = UIAlertController(title: nil, message: nil, preferredStyle: .ActionSheet)
[/c]
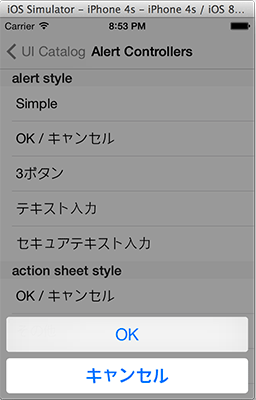
上のやつはこんな感じで表示されます。
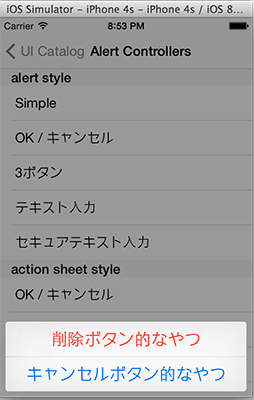
下の方は削除ボタンなどで使う赤いスタイルを適用したものです。
UIAlertActionのstyleを.Destructiveにすると赤くなります。
[c]
let destructiveAction = UIAlertAction(title: destructiveButtonTitle, style: .Destructive) { action in
NSLog("The \"Other\" alert action sheet’s destructive action occured.")
}
[/c]
表示は以下のようになります。
以上でUIAlertControllerのサンプル解説はおしまいです。
なんか長かったー。
コメント