
さて、前回ではUICatalogのうち、Activity Indicatorsの部分を作成しました。
今回は、Alert Controllerのサンプルを作成していきます。
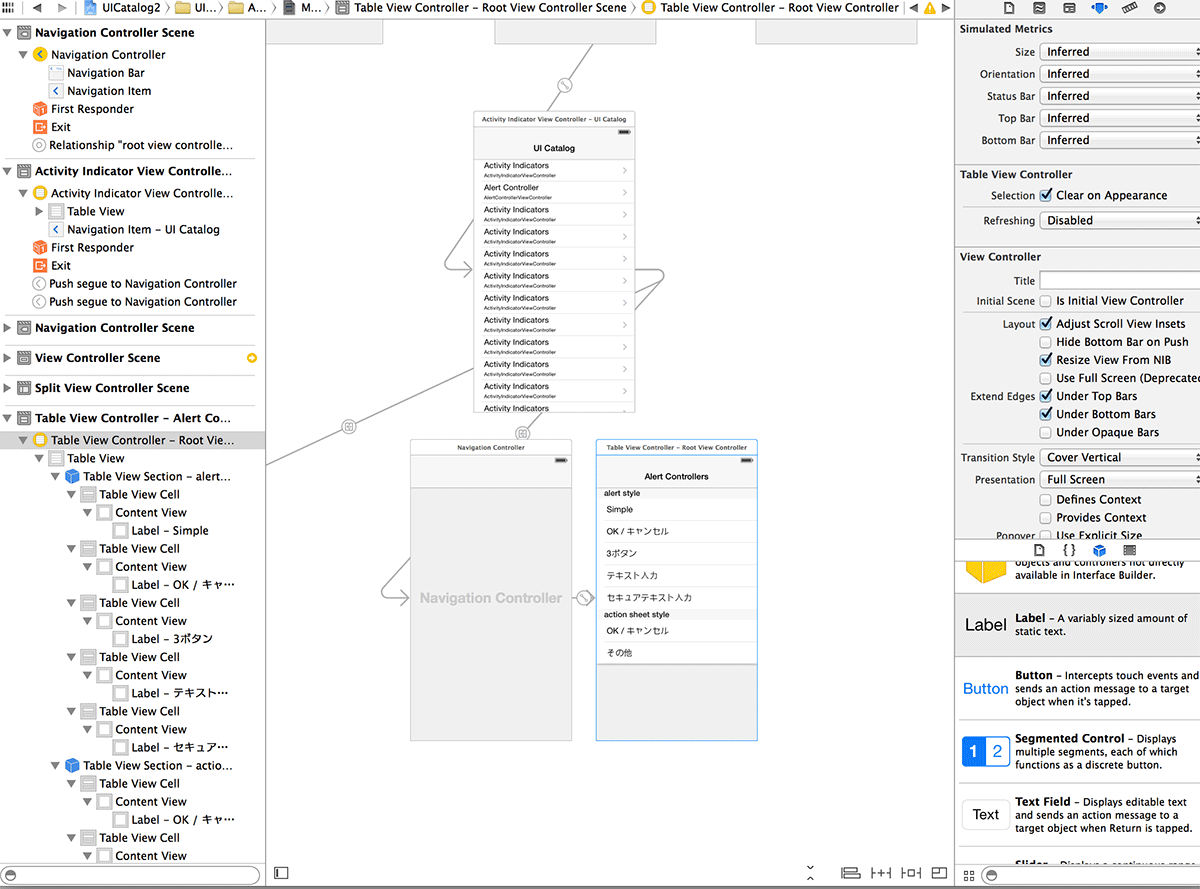
とりあえずガワから
前回と同様に
- TableViewCellのlabelの文言変更
- Navigation Controllerを配置
- TableViewCellのselectionをNavigation Controllerに結びつけ
- Table ViewのSectionsを2に
- Table View ControllerのTable View SectionのRowsを5と3に
- labelを配置して文言変更
とやっていきます。
Command + NからAlertControllerViewController.swiftを作成します。
今回は長文になるため、とりあえず動作確認のため下記のようにコーディングしてみます。
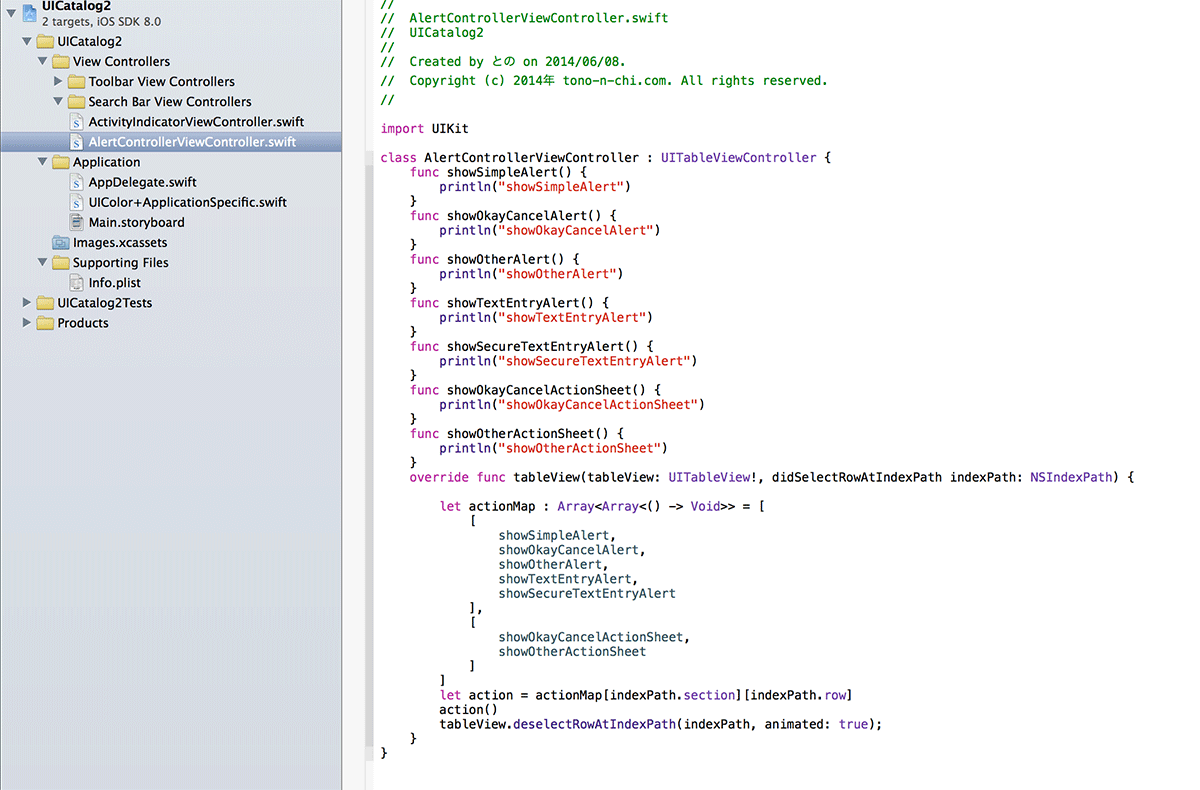
ボタンを押したらログにメッセージを出す処理を書いています。
実際にデバッグしてメッセージが出るか確認しましょう。
Arrayの表記と関数型の表記
ここでswiftっぽい表記はこの部分でしょう。
        let actionMap : Array Void>> = [
            [
                showSimpleAlert,
                showOkayCancelAlert,
                showOtherAlert,
                showTextEntryAlert,
                showSecureTextEntryAlert
            ],
            [
                showOkayCancelActionSheet,
                showOtherActionSheet
            ]
        ]
これは、関数のArrayのArrayを作成している部分です。
SwiftのArrayはType Safeなので、型指定を行います(省略も可能です。)
() -> Void の部分は、「戻り型Voidの関数」という意味合いなので、
上の方で宣言した関数名を列挙したArrayを2つ入れています。
この配列の構造がちょうどTableViewの構造と一緒であるため、
        let action = actionMap[indexPath.section][indexPath.row]
        action()
で関数が取得できるというわけです。
あと、関数名の
override func tableView(tableView: UITableView!, didSelectRowAtIndexPath indexPath: NSIndexPath) {
UITableView!の「!」(exclamation mark)は、この変数に値が入っていることを保証する「forced unwrapping」というものらしいです。
JSR303の@NotNullみたいなものでしょうか。
OKのみのAlert
さて、ボタンを押すとログが出力される状態から、
ボタンを押すとAlertが表示されるように修正していきましょう。
まずはOKボタンのみが押せるAlertから

ここでSwift独特っぽいのが
        let cancelAction = UIAlertAction(title: cancelButtonTitle, style: .Cancel) { action in
            NSLog("The simple alert's cancel action occured.")
        }
の部分なのですが、
action in以下がどういう文法なのか全く分かりません。
UIAlertActionの宣言を見ると
class UIAlertAction : NSObject, NSCopying {

    convenience init(title: String!, style: UIAlertActionStyle, handler: ((UIAlertAction!) -> Void)!)
...
とあるのでhandlerを定義しているんだと思いますが、なんで括弧の外に書けてるんだろう。
謎なので要調査です。Closureでした。
“Closure Expression Syntax
Closure expression syntax has the following general form:{ (parameters) -> return type in
statements
}
Closure expression syntax can use constant parameters, variable parameters, and inout parameters. Default values cannot be provided. Variadic parameters can be used if you name the variadic parameter and place it last in the parameter list. Tuples can also be used as parameter types and return types.”
“Trailing Closures
If you need to pass a closure expression to a function as the function’s final argument and the closure expression is long, it can be useful to write it as a trailing closure instead. A trailing closure is a closure expression that is written outside of (and after) the parentheses of the function call it supports:”
抜粋:: Apple Inc. “The Swift Programming Language”
あと個人的に驚いたのが、引数がkey-value型になっているということですね。
「The Swift Programming Language」にもありましたが、同じ型を引数に取るInitializerを書くこともできるんですね。
struct Celsius {
    var temperatureInCelsius: Double = 0.0
    init(fromFahrenheit fahrenheit: Double) {
        temperatureInCelsius = (fahrenheit - 32.0) / 1.8
    }
    init(fromKelvin kelvin: Double) {
        temperatureInCelsius = kelvin - 273.15
    }
}
let boilingPointOfWater = Celsius(fromFahrenheit: 212.0)
// boilingPointOfWater.temperatureInCelsius is 100.0
let freezingPointOfWater = Celsius(fromKelvin: 273.15)
// freezingPointOfWater.temperatureInCelsius is 0.0
抜粋:: Apple Inc. “The Swift Programming Language”。 iBooks.
(↑iBooksからコピペしたらこの文章ついてきてビビった)
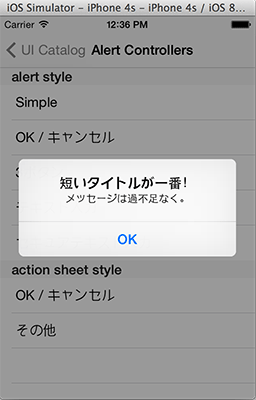
実行してみる
上記コードを記述した上で、
Simpleを押してAlertを表示するとこのような形になります。
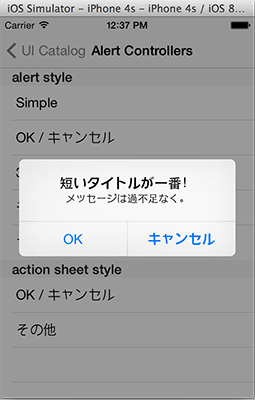
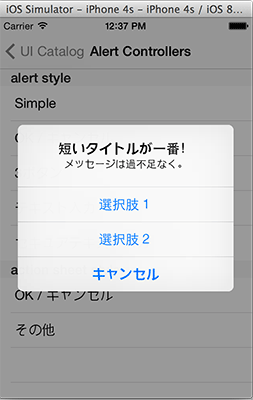
ボタンを増やすのは簡単
OK/キャンセル、3ボタンの実装は下記の通りです。

addActionをどんどん増やしているだけですね。
表示するとこのようになります。
残りのAlertに関しては次回にまわします。

コメント
[…] Swiftのお勉強にUICatalogをまねぶ http://tono-n-chi.com/blog/2014/06/swift-uicatalog-copy-3/ […]