前回はAlert Controllerを途中までやりました。
今回はその続きです。
テキストフィールド付きAlert
Alertにテキストフィールドを表示させることができます。
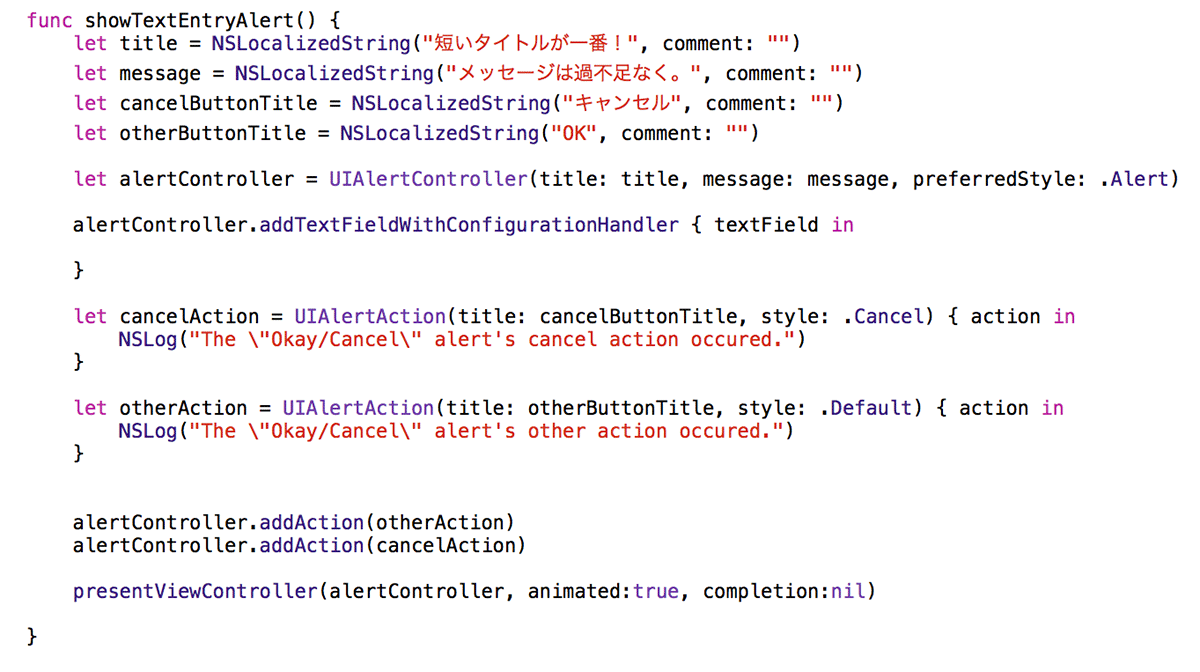
コードはこちら。
alertController.addTextFieldWithConfigurationHandler
でAlert Controllerにテキストフィールドを表示させることができます。
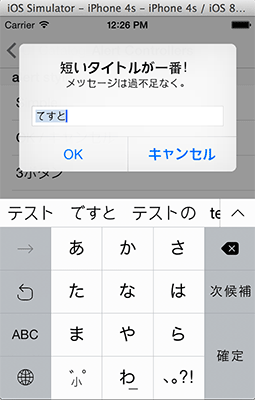
表示はこんな感じ。
ただ、「WithConfigurationHandler」と書いている割に空の関数を指定しているため、
テキストを打っても何も変わりませんね。
テキストの内容によって動作を変えるAlert
というわけで早々に次のAlertに向かいます。
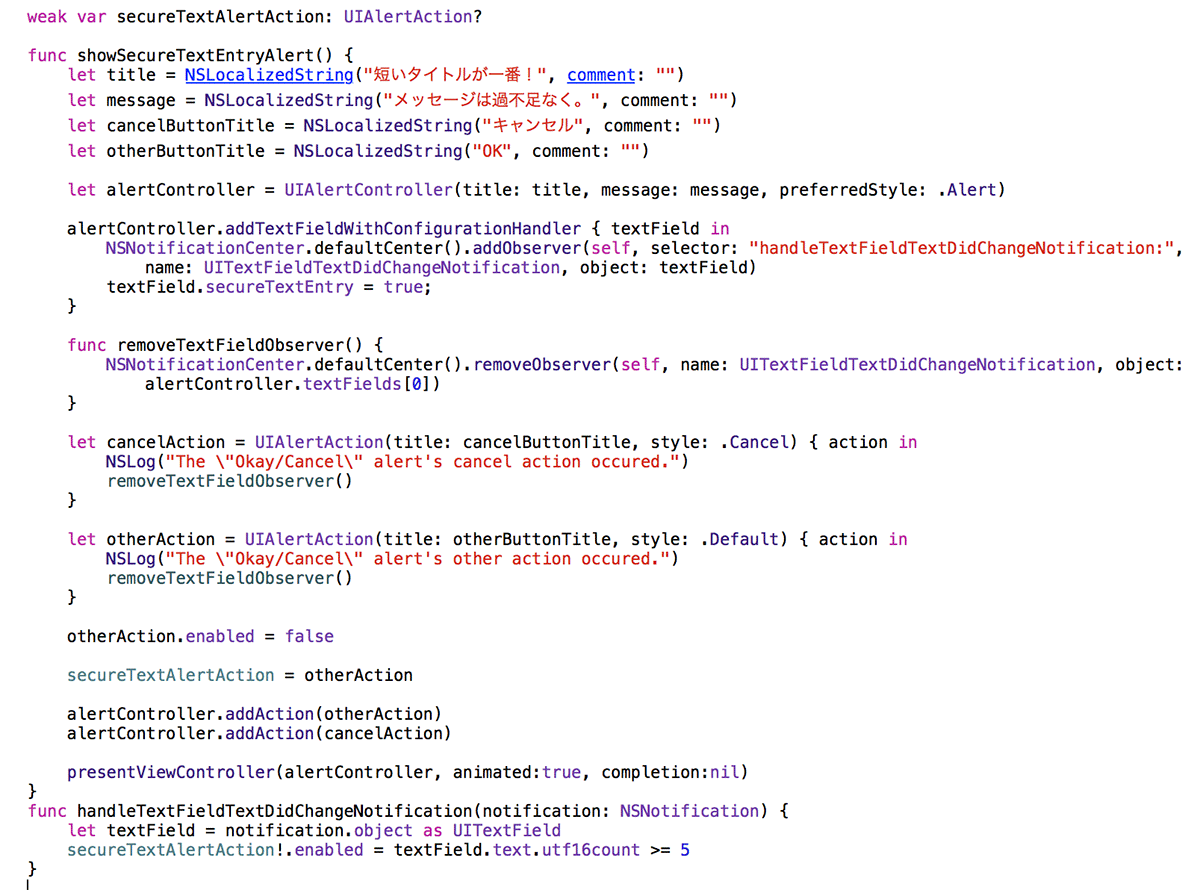
今回はaddTextFieldWithConfigurationHandlerの引数にちゃんと処理のあるTrailing Closureが指定されています。
        alertController.addTextFieldWithConfigurationHandler { textField in
            NSNotificationCenter.defaultCenter().addObserver(self, selector: "handleTextFieldTextDidChangeNotification:", name: UITextFieldTextDidChangeNotification, object: textField)
            textField.secureTextEntry = true;
        }
先に最終行について説明しておくと、secureTextEntryをtrueにすることでパスワード形式の入力にしています。
で、その前の行でイベント通知を扱うNSNotificationCenterにObserverを追加しています。
監視対象はもちろんtextField、監視動作はUITextFieldTextDidChangeNotificationということで、
UITextFieldTextDidChangeNotification
Notifies observers that the text in a text field changed. The affected text field is stored in the object parameter of the notification.
テキストフィールドへの変更を監視します。
で、変更があった際に呼ばれるhandleTextFieldTextDidChangeNotificationを見てみると、
    func handleTextFieldTextDidChangeNotification(notification: NSNotification) {
        let textField = notification.object as UITextField
        secureTextAlertAction!.enabled = textField.text.utf16count >= 5
    }
カウントが5桁以上である場合のみ、secureTextAlertActionのenabledをtrueにします。
secureTextAlertActionにはotherActionを代入しているので、OKボタンがここで制御されるということになります。
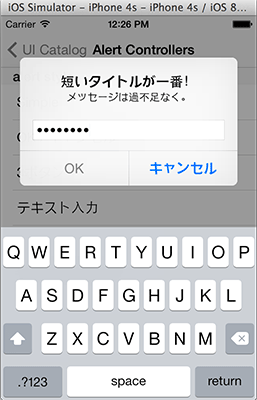
画面はこんな感じです。
5文字以上入力必須のパスワード入力画面って感じですね。
(これ、5文字以上で確かにOKボタンは押せるようになるけど、色が変わらないのはどうすればいいんだろう…)


コメント